
How to check Linux HDD S.M.A.R.T. with PRTG sensor
CentOS HDD S.M.A.R.T. shell script.
Create path
/var/prtg/scripts
Install smartmontools
yum install smartmontools
Start the service
service smartd start
chkconfig smartd on
Create shell script
touch hddsmart.sh
And paste the following
#!/bin/bash
serviceIsRunning=false
var1=$(smartctl -H /dev/sda |grep result |sed 's/..............................$
var2=$(echo $data)
if [ "$var1" == PASSED ]
then
serviceIsRunning=true
echo "0:200:PASSED"
fi
if [ $serviceIsRunning == false ]
then
echo "2:404:FAILED"
fi
Save and Exit
Make it executable
chmod +x hddsmart.sh
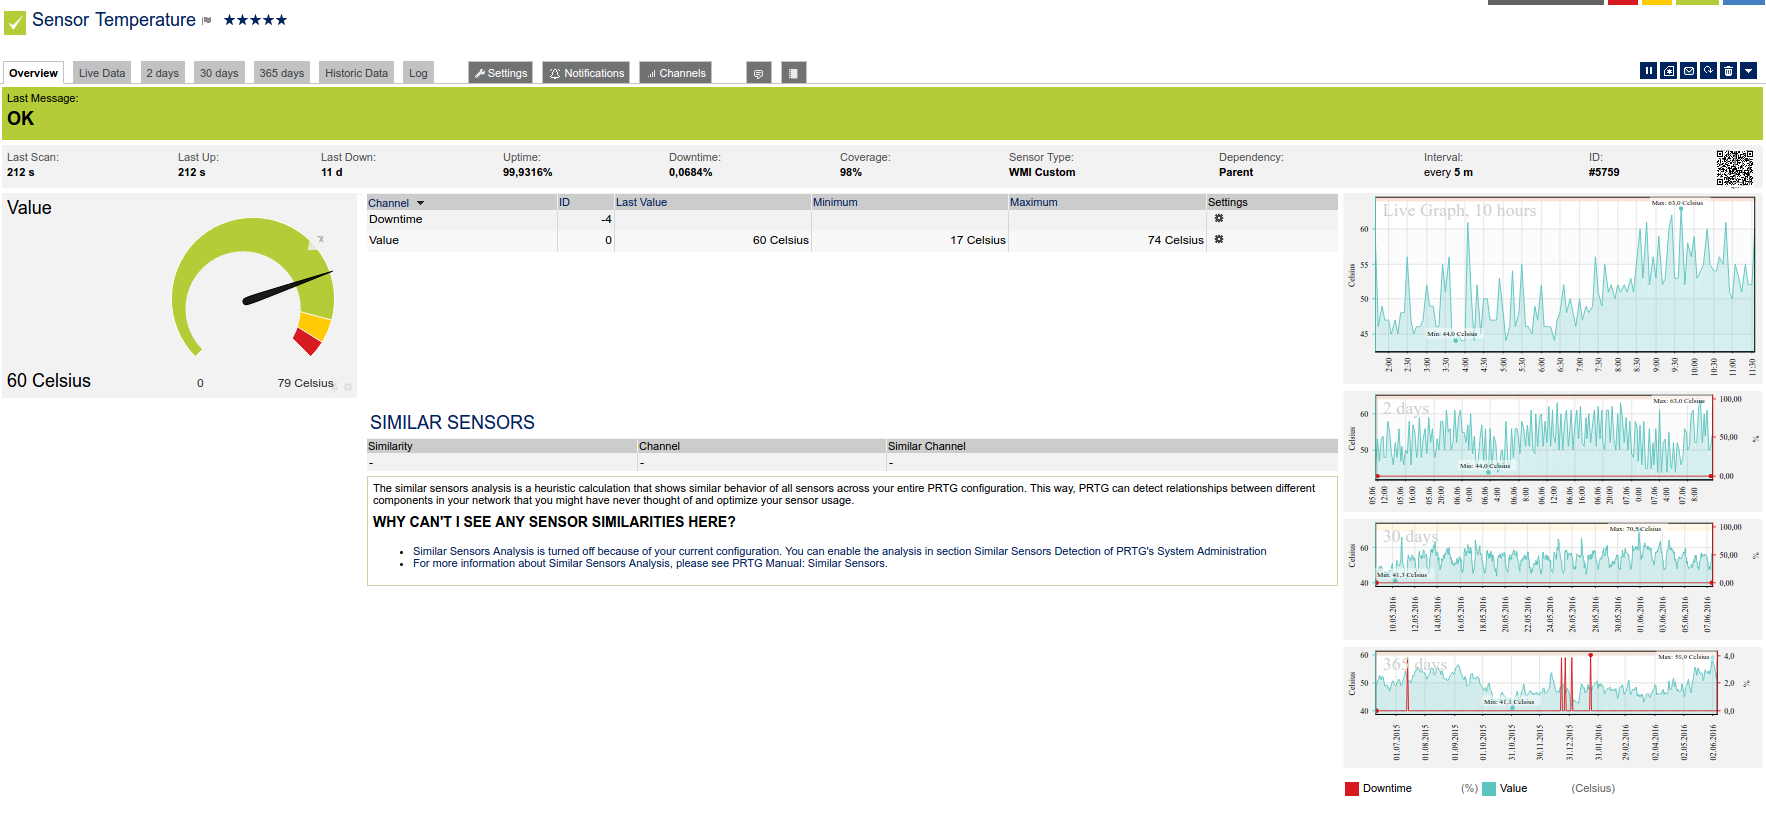
Go to PRTG :
Add Sensor- SSH Script
Choose script - hddsmart.sh
Save
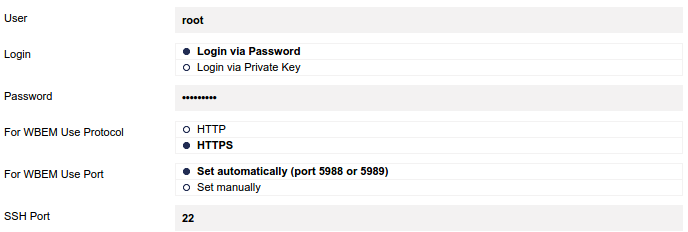
! Make sure your PRTG Server has access to Asterisk Server, if not, add root username and password
to the credentials in the BASIC DEVICE SETTINGS